

I love apples! I have very fond memories of traipsing through the apple orchard in my hometown on brisk, fall mornings, my boots damp with dew as I munched on a cold apple I'd snagged from a low hanging branch. I tell you, nothing tastes as good as an apple picked right from the tree- heavenly!
Well, the other day I spotted some apple prints online and wanted desperately to incorporate something similar into my life! And that's how I came up with these Apple Print Coasters.

1. I started with the usual cast of characters: acrylic paint, fabric with coordinating thread, iron-able batting, and an apple (please ignore that bias tape - it didn't end up being used in my project!).
2. Using a rotary blade since I'm not the straightest cutter when using scissors, I sliced my fabric into 4 inch squares. Once the fabric was prepared, I sliced an apple and prepped my paint.
3. And then it was time to print! My apple was especially juicy, so before I lathering paint on the apple using a foam brush, I wiped it with a paper towel to remove the excess apple juice.
4. Next up: stamping! I didn't want my prints to be completely perfect, so I only reapplied paint between every 2 stamps. I was also careful to also paint the stem of my apple, which I think makes the prints even easier to distinguish. After I had finished stamping, I left my prints to dry for a couple of hours.

5. Once the prints were dry, it was time to assemble! I ironed the batting between two pieces of 4 inch fabric (one of which had been printed upon), and kept things together with a couple of straight pins.
6. Once everything was ironed, I turned to my trusty sewing machine.
7. I ran a simple stitch around the perimeter of the coaster and I ended up using a contrasting thread to make things really "pop."
8. Then I quickly cut the edges off each of the coasters, leaving a but of fabric around my sewn edges... and I was finished!
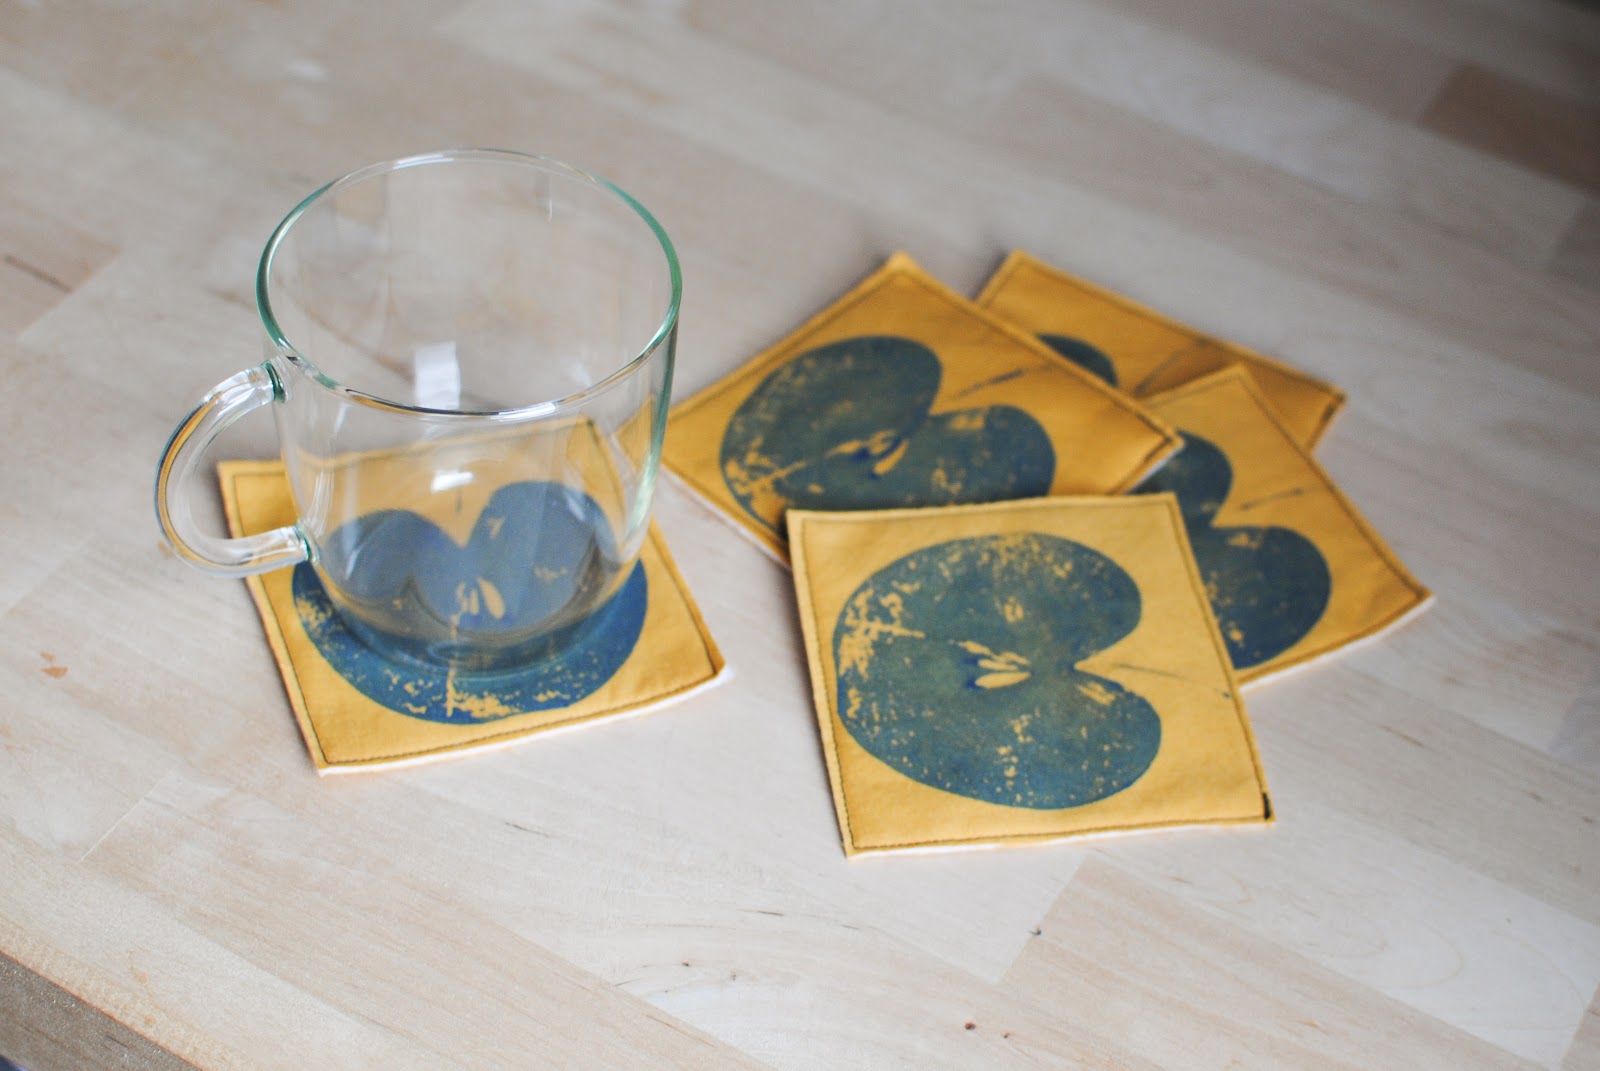
As I found out, 4 inches seemed to be the perfect size for most of my glasses/mugs as well as the perfect size for my stamping apple!

Of course, I couldn't stamp in a single color, so I added a few red and green apples to my coaster stash.

These little coaster were SO easy to whip up, I made some extras that I packaged up with a little baker's twine. I think a stack of coasters, along with a box of tea or a pretty new mug, will make great "get well soon" gifts this winter when my friends and family get a cold!

APPLE PRINT COASTERS SUPPLY LIST
Cotton fabric
Iron-able batting
Thread
Scissors
Paint
Foam paint brush
Apple, cut in half
Iron
Sewing machine


